Start with the space you actually have
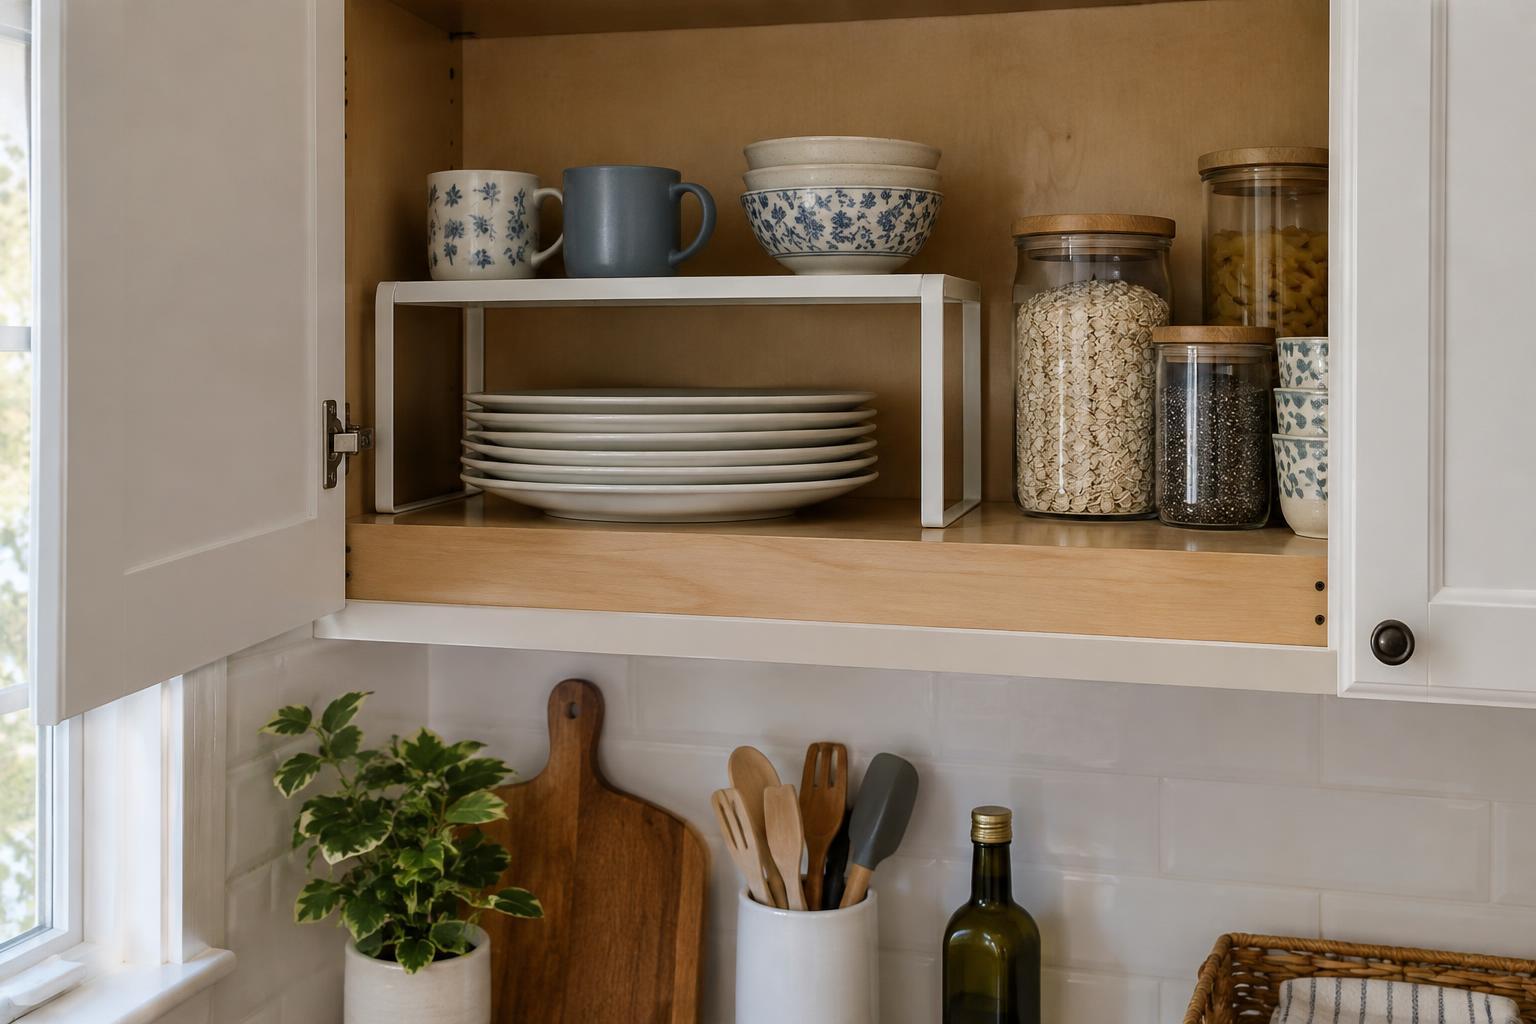
A cabinet can look full at the bottom while leaving a large gap above its contents. A shelf riser creates a second surface within that gap, so short items no longer have to share one crowded layer. It is most useful when the cabinet holds things of similar height, such as mugs, small bowls or food containers.
Before buying one, empty the cabinet and measure its usable width, depth and height. Check the space between the lowest shelf and any door hinges, pipes or other obstructions. Then measure the items you want to keep underneath and on top of the riser. Leave enough clearance to lift each one out without tilting it awkwardly. If you have adjustable cabinet shelves, moving one may solve the problem without adding anything.
Give the riser one clear job
Plan around an everyday task rather than trying to fit the maximum number of objects into the cabinet. In a dish cabinet, a riser might hold small bowls above plates. In a pantry cabinet, it could keep short cans visible above packets stored in a tray. Keep frequently used items near the front and put occasional-use items farther back, provided you can still remove them easily.
Choose a riser that sits flat and leaves room to reach its lower level. An open-sided design can make mugs or containers beneath it easier to grasp. Check that its top is broad enough for what you plan to place there; narrow bars may not support small jars or uneven dishes well. A riser that slides, rocks or bows under its intended contents is not a good fit for that spot.
Set sensible stacking limits
A riser adds a surface, not permission to build a tall tower. Follow any load guidance supplied with the product and account for the weight of everything on top of it. Keep heavier pieces on the cabinet shelf where possible, and avoid putting heavy items high up or toward the front edge. The riser also needs its legs firmly supported by the cabinet shelf, not balanced on other objects.
Stack only items that nest or rest securely together. Plates of the same size may form a usable stack; mixed bowls that wobble when lifted do not. As a practical test, you should be able to remove the item you use most without steadying the whole cabinet. If reaching one cup means shifting several others, reduce the stack or give those items a different home. A shorter, dependable arrangement is more useful than a densely packed one.
Match the layout to your routine
For a small dish cabinet, try keeping dinner plates directly on the shelf, with a riser above one side for lighter side plates or bowls. Leave the other side open for taller glasses or a stack of serving pieces. In a food cabinet, group similar packages together before adding a riser; this makes it easier to see whether you need another level at all. Avoid hiding small items behind a deep row of larger ones.
Make one change at a time and use the cabinet normally for a few days. Notice which items you reach for, which ones get knocked over and whether the door closes comfortably. If the arrangement makes unloading dishes or putting away groceries slower, move the riser or remove it. Storage should support the routine, not turn each use into a rearranging job.
Keep the upgrade simple
You do not need to equip every cabinet. Start with the one where unused height and daily frustration overlap. An adjustable shelf, a riser you already own or a single well-fitting purchase may be enough. Before buying, decide what will go above and below it; otherwise, the new surface can quickly become a place for miscellaneous clutter.
Periodically take the riser out to wipe the shelf and check that it remains level and sturdy. As your dishes or food supplies change, reconsider the stacking limits rather than forcing new items into the old layout. The best use of vertical space is not the tallest arrangement you can make. It is one that lets you see, reach and put away what belongs in the cabinet.