Choose a small area with a clear purpose
Removable floor tiles are appealing when a full flooring project is more than a room needs. A compact entry, laundry nook or desk corner may be small enough to tackle in stages. The tiles can add a pattern or make a worn-looking area feel more intentional, but “removable” does not mean they will lift without a trace from every surface.
Start by defining exactly where the new finish will stop. A doorway or straight edge is usually easier to plan around than an irregular patch in the middle of a room. Note where chairs roll, doors swing and shoes bring in water or grit. A tile that works in a quiet corner may be less suitable for an entry that gets wet or sees frequent traffic.
Check the floor beneath the tiles
The existing surface matters as much as the tile design. Many peel-and-stick products need a clean, dry, smooth and stable base to adhere properly. Loose boards, crumbling grout, raised seams and deep texture can show through or keep tile edges from sticking. A glossy finish may also affect adhesion, while a delicate coating may be damaged when the tile is removed.
Look for signs of moisture before covering anything: persistent dampness, a musty smell, swelling or stains that return after cleaning. Tiles should not be used to hide an unresolved problem. If you are working over existing flooring, check the tile maker’s guidance for that specific material. Some products are not intended for carpet, uneven tile, certain finishes or floors with underfloor heating.
In a rental, ask what changes are permitted before buying materials. Even if a product is marketed as renter-friendly, you may still be responsible for adhesive residue or damage to the original floor. If the floor’s material or condition is uncertain, a loose, washable mat may be a better first step.
Test both sticking and lifting
Buy a sample or use a spare tile to test an inconspicuous spot. Clean the area as directed by the manufacturer, let it dry fully, and apply the tile without stretching it. Check whether the edges stay flat and whether the surface underneath creates visible bumps. Leave the test in place for the period recommended by the product instructions before judging its performance.
Then test removal rather than assuming it will be easy later. Follow the maker’s removal directions and pull slowly, keeping the tile close to the floor rather than yanking upward. Inspect the original surface for residue, discoloration or lifted finish. A successful test reduces uncertainty, but it cannot guarantee identical results across the room, especially where sunlight, moisture or floor finishes vary.
Plan the layout before peeling any backing
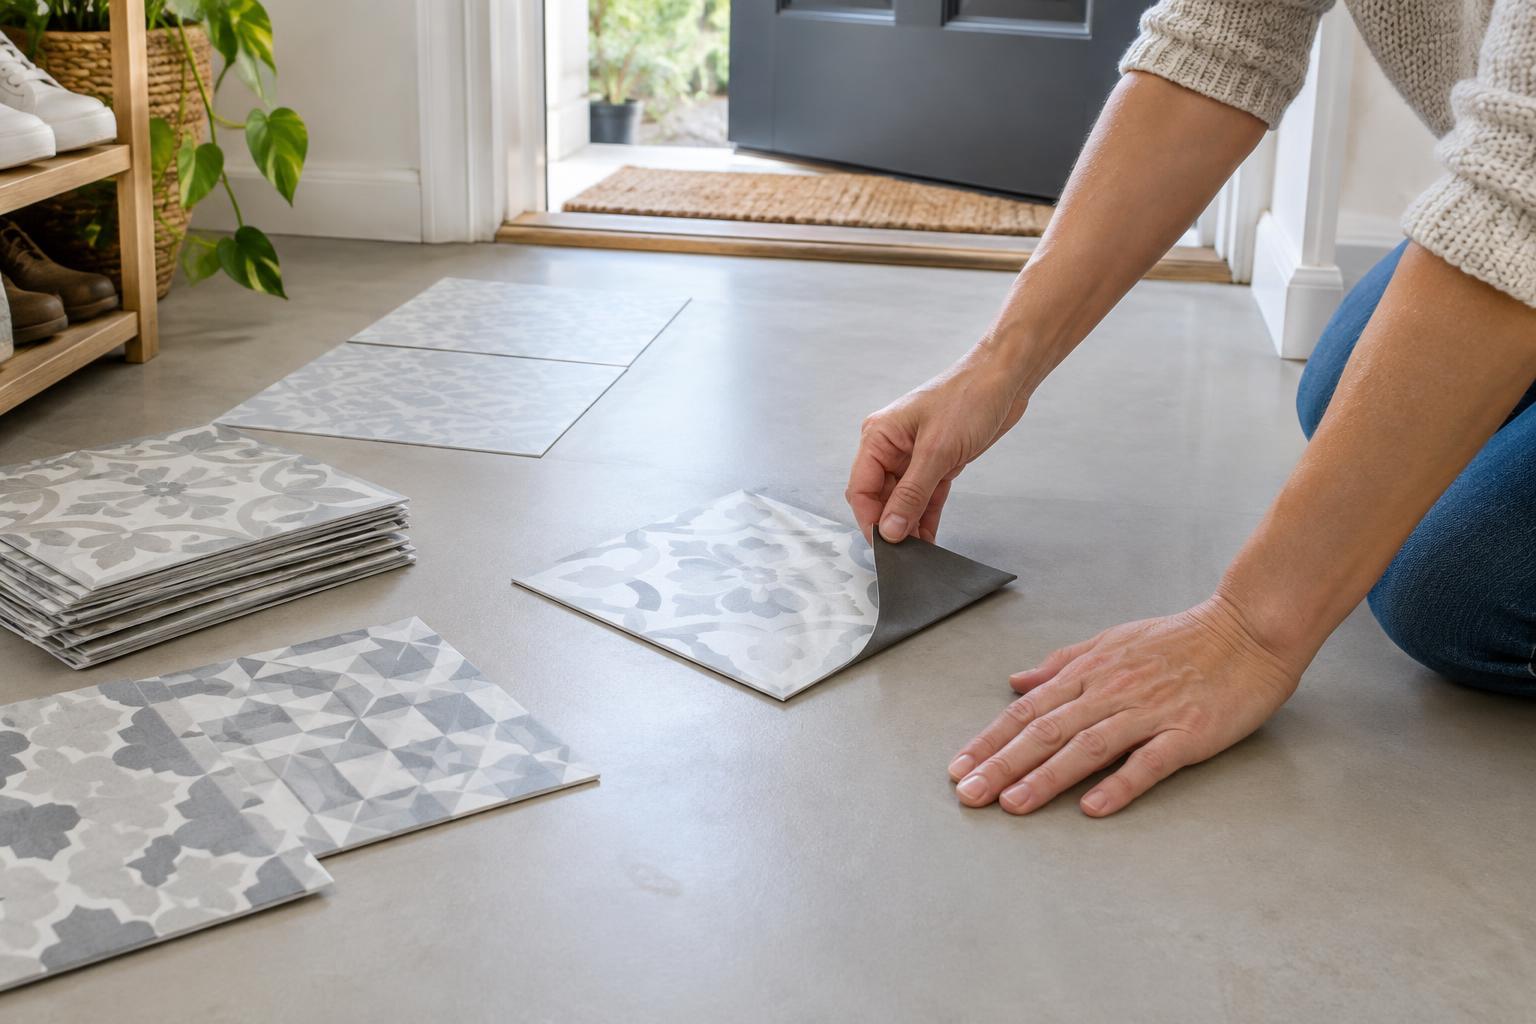
Measure the area and sketch where full tiles and cut pieces will land. Dry-lay a row to see how the pattern looks from the doorway and whether narrow strips will be left along one wall. Shifting the starting point slightly can sometimes produce more balanced edges. Allow for a few extra tiles to cover cutting mistakes or future replacements.
Work on a thoroughly cleaned, dry floor, following the product’s temperature and preparation instructions. Install a few tiles at a time so you can keep lines straight and press out trapped air. Cut carefully around fixed obstacles; do not cover vents, drains or access panels. At a doorway, check that the added thickness does not catch a door or create a raised edge that people could trip over.
Make upkeep and removal part of the plan
Use the cleaning method specified for the tiles, and wipe up standing water promptly. Watch for curling corners or gaps that collect dirt. Replacing one damaged tile may be simpler than trying to force a lifted edge back down, but first check whether moisture or an uneven base caused the problem.
Keep the packaging and removal instructions with your project notes. When it is time to take the tiles up, work slowly and test any recommended adhesive remover in a hidden spot before using it broadly. Avoid aggressive scraping that could mark the floor underneath. A small-area project is most successful when the original surface remains usable afterward—not just when the new pattern looks good on installation day.