Choose a job for the board before choosing a size
A pinboard works best when it has a specific purpose. It might hold a weekly schedule beside a desk, a few invitations near the door or project notes above a craft table. Decide what needs to stay visible, then gather those items and lay them out on a table. This gives you a better size guide than choosing a board simply because it fills an empty wall.
In a multipurpose room, a smaller board is often easier to live with. Leave some open space around the pinned items so new notes do not cover older ones. Before buying materials, mark the proposed board outline on the wall with low-tack tape and check how it looks from the doorway and from your usual seat. Make sure it will not interfere with a door, shelf or chair.
Pick materials that suit both the room and the pins
A plain cork pinboard with a sound backing is a straightforward starting point. Check that the cork is thick enough for your pins and that the board feels sturdy when lifted. A thin decorative cork sheet may need a firmer backing; otherwise, pins can pass through it. If you are reusing a board, remove old staples and check the frame and hanging points before covering it.
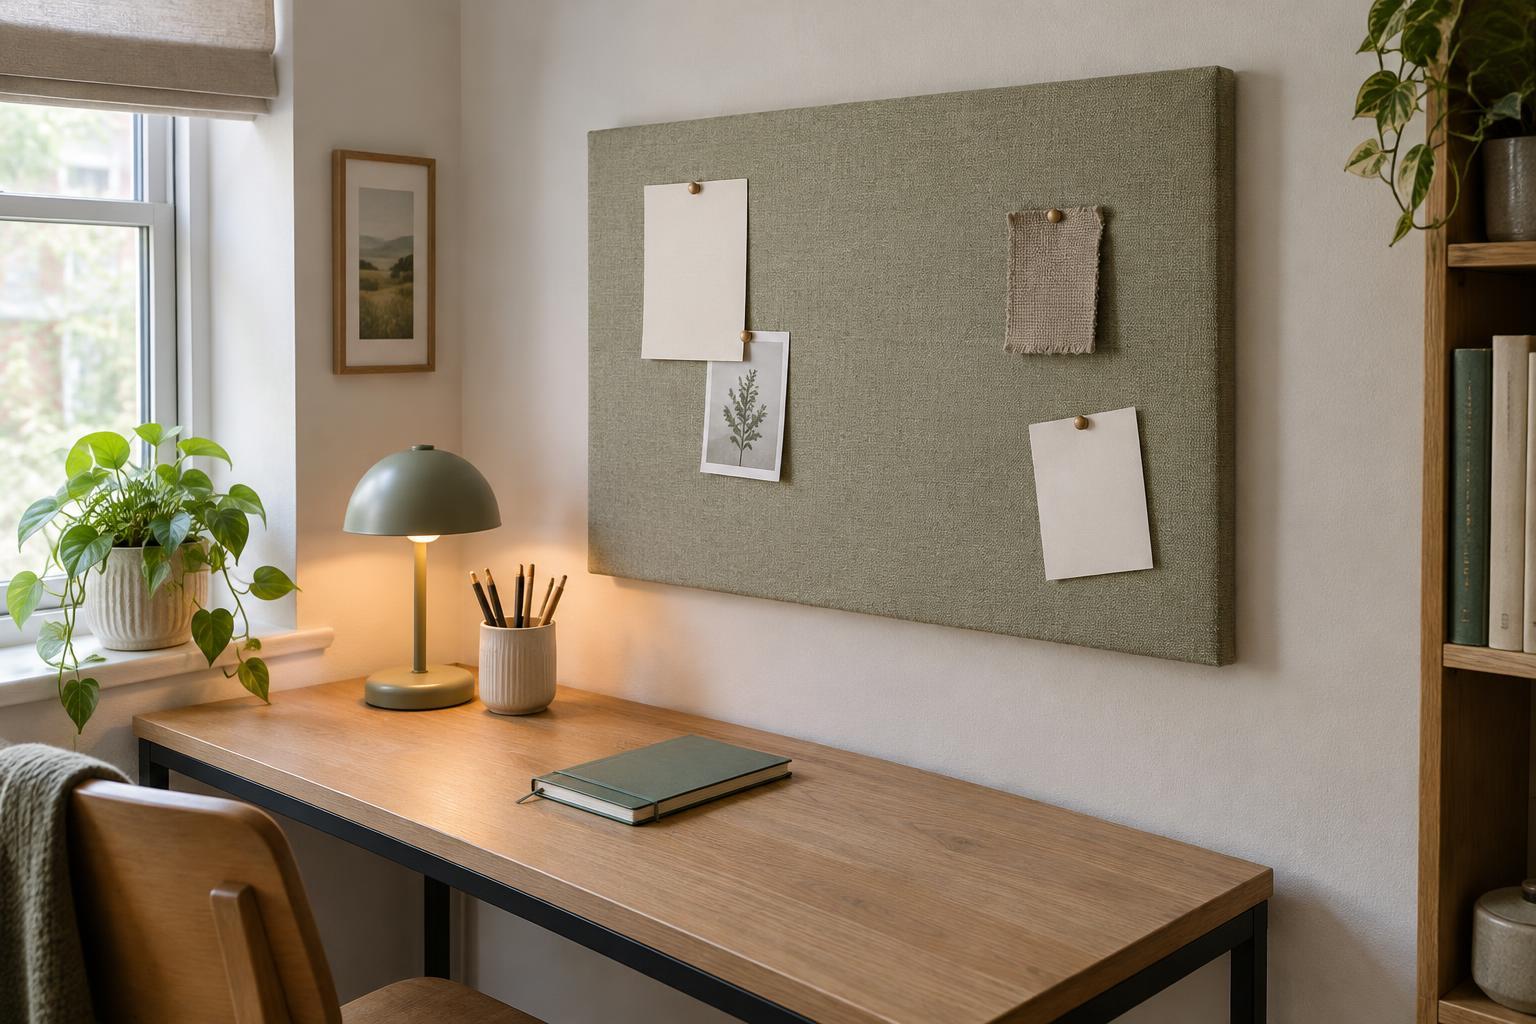
Choose a fabric that is tightly woven enough to hold its shape but not so thick that pins are difficult to push through. Cotton canvas or a similar medium-weight fabric can work well. Hold a sample over the cork and test a pin before committing. A small-scale pattern can hide pin marks and minor wrinkles, while a solid color gives changing papers a quieter background. If the board will sit above a busy desk, consider a fabric close in color to the wall so the display does not compete with everything below it.
Cover the board neatly without special tools
Set the board face down on the wrong side of the fabric. Cut the fabric with enough extra on every side to wrap around the edge and attach at the back. Smooth it across the front, then secure the middle of one side at the back with a staple or another fastener suitable for the board. Pull the opposite side gently taut and fasten its middle. Repeat with the remaining sides before working outward toward the corners.
Keep checking the front as you go. The fabric should be smooth, not stretched so tightly that it distorts the weave or bends the board. Fold each corner like a neat parcel and fasten it at the back, trimming bulky excess fabric if needed. If staples could protrude through a thin backing, use a more suitable attachment method or choose a thicker board. Leave any manufacturer-provided hanging hardware accessible rather than covering it with fabric.
Hang it where it is useful and secure
Place the finished board where you can reach it comfortably without leaning over furniture. Beside a desk may be more useful than directly behind a monitor; near an entry, keep it clear of coats and swinging doors. Hold the board in position and mark the mounting points before making holes. Use fixings suited to the wall and the weight of the finished board, and follow the hardware instructions. If you rent, check what kinds of wall fixings are permitted before you begin.
A pinboard should not rely on an adhesive strip unless the strip is rated for the board’s weight and the surface meets its application requirements. Remember that the board will also be handled as notes are added and removed. Once it is mounted, give it a gentle stability check before putting it into daily use, and keep loose pins away from children and pets.
Make the display easy to maintain
The fabric is only half of this decorating project; what you pin to it shapes the finished look. Start with the items you need this week, then add one or two things you enjoy seeing, such as a postcard or a small print. Group related notes together rather than covering every inch. If papers overlap heavily, the board may be too small for its job—or some of those papers may belong in a folder instead.
Set a brief weekly reset: remove expired reminders, return loose pins to a small container and replace anything that has become hard to read. That habit keeps the board useful and prevents it from becoming another storage spot for decisions you have not made. When the room changes function, the board can change with it: schedules can give way to project sketches or a few photographs without another decorating purchase.