Start with one container, not the whole storage system
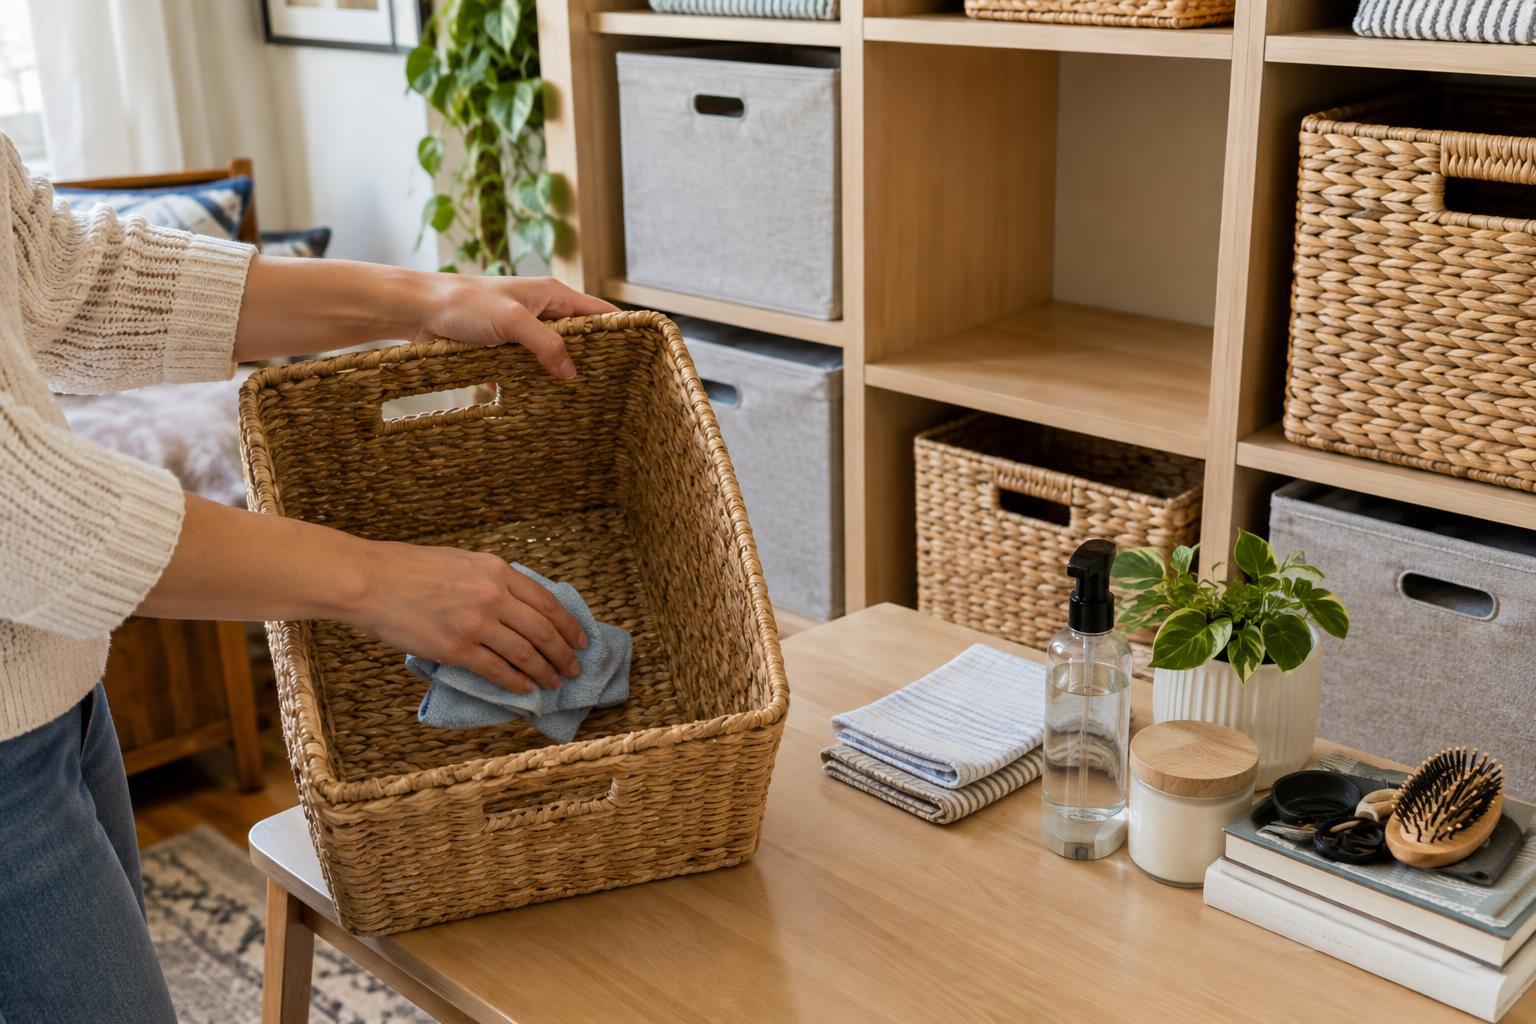
In a small room, emptying every bin at once can turn a modest cleaning job into an obstacle course. Choose one container and give its contents a temporary landing spot, such as a cleared tabletop or a towel on the floor. Keep that spot small enough that you will want to finish the job before starting another bin.
As you lift items out, check for crumbs, leaking toiletries, damp fabric or anything that has left a mark. Set aside items that need attention, but avoid turning this into a full decluttering session. The immediate goal is to clean the container and return its useful contents. If an item belongs elsewhere, put it there when the bin is ready to go back.
Match the cleaning method to the material
For a hard plastic bin, remove loose debris with a dry cloth or a vacuum attachment. Wipe the inside, outside, handles and lid with a cloth lightly dampened with water and a little mild dish soap. Follow with a clean damp cloth if any soap remains, then dry the bin thoroughly before refilling it. Check the maker’s guidance before submerging a bin or putting it in a dishwasher; labels, coatings and fitted parts may not tolerate it.
Fabric cubes and lined baskets usually need a gentler approach. Vacuum seams and corners with a brush attachment, then spot-clean marks according to the care label. Avoid soaking a stiff-sided cube: moisture can linger inside its panels. For woven baskets, loosen dust with a soft brush and vacuum it away. If the material permits damp cleaning, use a barely damp cloth and let the basket dry fully in an airy spot, out of strong heat.
Metal containers can often be wiped with a damp cloth and dried promptly, paying attention to joints and the underside. If you are unsure how a painted, coated or natural-fiber container will react, test a small hidden area first. Strong cleaners and heavy scrubbing are rarely necessary for ordinary storage dust and may damage a finish.
Clean the shelf while the bin is out
An empty shelf is a useful opportunity, even if you have only a minute. Dust the surface, then wipe any sticky marks with a cloth suitable for its finish. Dry it before replacing the container. Check the wall-facing edge and the space beneath the bin, where debris can accumulate without being visible from the room.
Notice whether the location is causing a recurring problem. A basket directly beside a cooking area may collect grease; a bin near an entry may gather grit from shoes; a container pressed against a cold exterior wall may feel damp. Moving it a short distance, using a washable tray underneath or changing what you store there may reduce future cleaning. If you find persistent moisture or visible mold, address the moisture source rather than simply covering the smell.
Return only clean, dry contents
Before refilling the container, give its contents a quick check. Wipe dusty packaging, let damp items dry, and separate anything that could leak. A small washable pouch can keep loose stationery or grooming items from leaving residue across the bottom of a bin. Avoid sealing recently washed cloths or other damp items in a closed container, even if the container itself is dry.
Put frequently used items where you can lift them out without disturbing everything else. Leave enough space to see the bottom of the bin and remove it from the shelf comfortably. Overpacked storage is harder to inspect, and a minor spill can remain hidden longer.
Build upkeep into ordinary use
You do not need to schedule a room-wide bin-cleaning day. When a container is nearly empty, dust or wipe it before restocking. If you already rotate seasonal items, clean the container at the changeover. For bins holding food, toiletries or cleaning supplies, check more often for leaks and residue; a closed basket of spare cables or craft materials may need only occasional dusting.
Keep a cloth and a small brush with your usual cleaning supplies so the task does not require a special setup. Cleaning one bin, its shelf and its contents at a time keeps the room usable throughout the job—and makes it easier to notice which storage choices are working.