Start with the holes you already have
Replacing cabinet hardware is a small project with a noticeable effect, especially when the same doors and drawers are visible throughout a compact room. The simplest way to get a tidy result is to work with the existing holes. Before shopping, remove one knob and one pull from each different type of cabinet front. Keep the screws in a container, and note whether any hardware has left a shadow, dent, or unpainted patch.
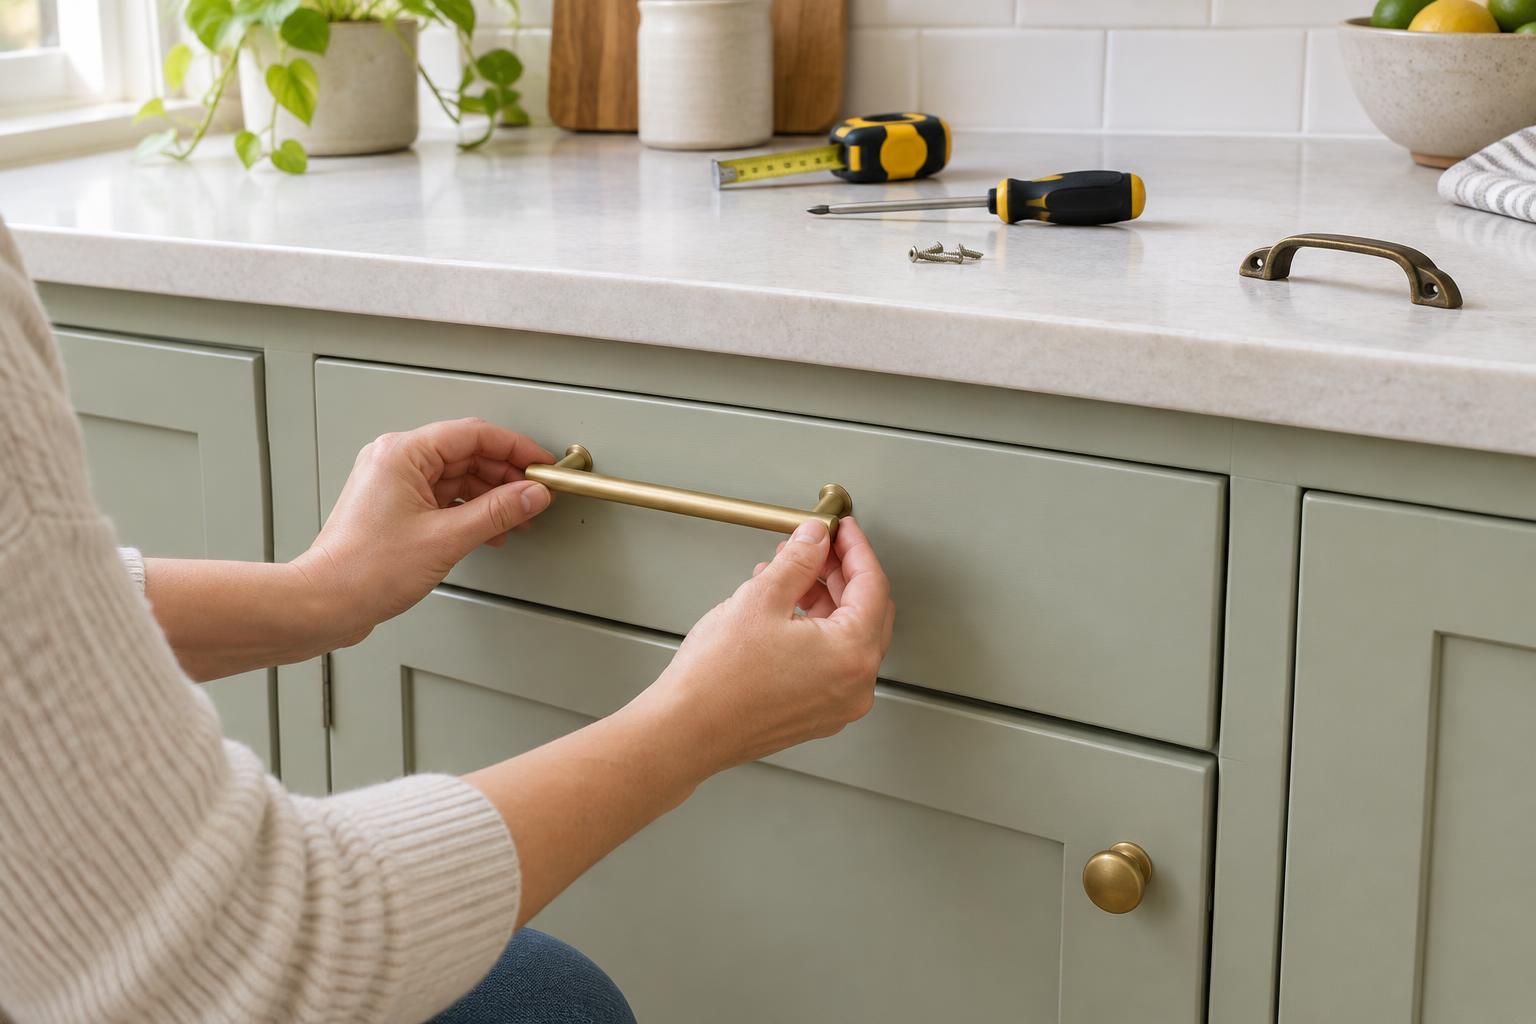
A knob usually attaches through one hole. A pull usually uses two. For a pull, measure the distance from the center of one screw hole to the center of the other. This is the center-to-center measurement to compare with replacement pulls; it is not the pull’s overall length. Measure several drawers rather than assuming they all match. Hardware installed at different times may have different spacing, even when it looks similar from the front.
Choose hardware that fits the layout
If you want to avoid drilling and filling, replace one-hole knobs with one-hole knobs and choose new pulls with the same center-to-center spacing as the old ones. Check the product dimensions before buying, and take a removed pull or a written measurement with you when shopping. A slightly different shape can change the look while keeping the installation straightforward.
Think about what the old hardware covered. A narrow new pull may fit the holes but expose worn finish around them. A knob with a broader base or a pull with larger mounting points may conceal minor marks. Backplates can also cover discoloration or small surface damage, provided they suit the cabinet style and sit flat. Test one piece against the cabinet front before buying enough for the whole room.
Count every door and drawer, then allow for any differences in placement. This keeps a modest project from turning into a collection of nearly matching purchases. If you are renting, check what changes are permitted before drilling, filling, or painting cabinet fronts.
Check screws and fit before tightening
Cabinet doors and drawer fronts vary in thickness, so the screws supplied with new hardware may be too short or may bottom out before the hardware is secure. Compare them with the old screws and test one installation. If a screw is too long, use an appropriately sized replacement rather than forcing the hardware tight. On drawers, check whether the screw must pass through both the drawer box and a separate decorative front.
Install a sample knob or pull loosely first. Make sure its base lies flat, its screws enter the existing holes without being angled, and nearby doors or drawers can open comfortably. A pull that fits the holes can still feel cramped next to a wall or appliance. Once you are happy with the fit, tighten it by hand until secure, without overtightening and damaging the front.
Handle holes that do not match
If the replacement hardware cannot use the existing holes, decide whether the extra work is worth it. For painted wood fronts, small unused holes can often be filled, sanded, primed, and touched up. The repair may still show if the paint color or sheen does not match. On stained wood, veneer, or laminate, a filled hole can be much harder to hide. In those cases, hardware or a backplate that covers the old holes may be the neater option.
Before drilling any new holes, hold the replacement against each front and mark the proposed position with removable tape. Check that old holes will be fully covered or repaired and that the new position looks consistent across the cabinets. A simple template made from stiff paper can help repeat the placement. Measure from the same edge each time, and verify the template on a closed door or drawer before drilling. Remove or open the front as needed so the drill cannot strike anything behind it.
Finish with a room-wide check
After installing the hardware, step back and look across the whole run of cabinets. Check for pulls that appear tilted, screws that have loosened, and marks the new pieces do not cover. Wipe away pencil marks and fingerprints with a cleaner suitable for the cabinet finish. Save one spare knob or pull, along with any matching screws, in a labeled bag for a future repair.
For a controlled budget, replacing hardware that already matches your hole pattern usually means fewer materials and less touch-up work. If a full set is more than you want to tackle at once, start with a small, self-contained group of cabinets. Keeping the finish and style consistent within that group makes the update feel intentional while you decide whether to continue.