Choose the wall and set a boundary
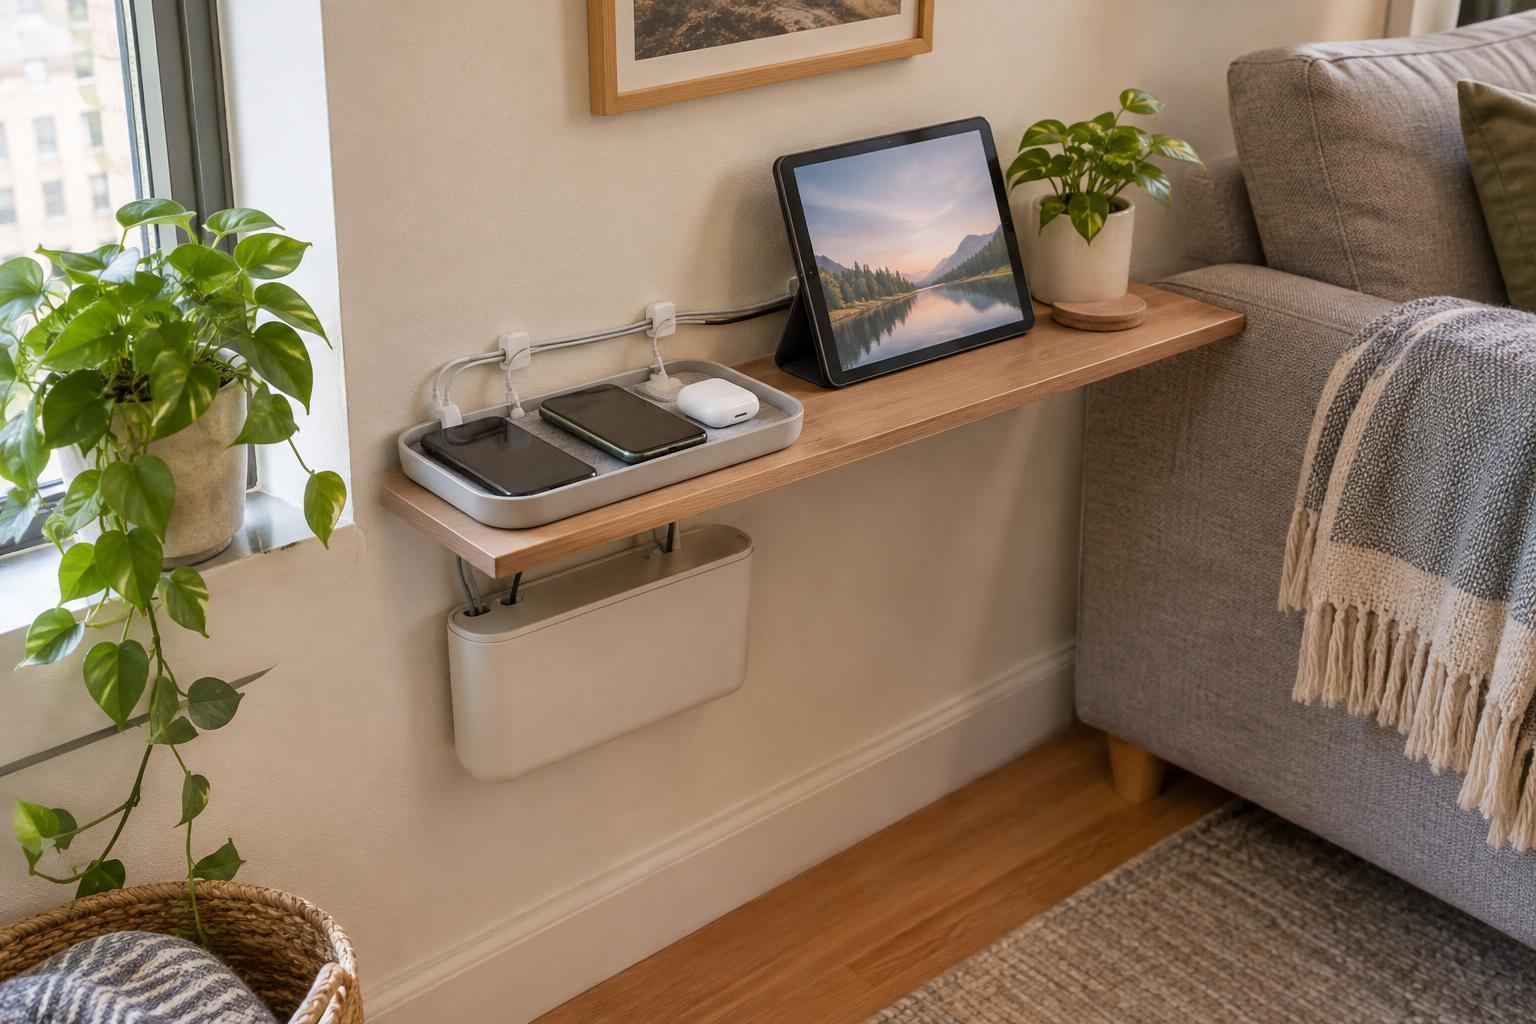
Start with one wall that has a clear relationship to the room: above a sofa, beside a desk or over a narrow console. A gallery wall does not need to fill every available inch. In a compact room, leaving some bare wall around the group helps it read as one arrangement rather than a collection of unrelated objects.
Measure the usable area, accounting for furniture, switches, shelves and doors that swing nearby. Then mark a rough outer boundary with small pieces of painter’s tape. If the gallery will sit above furniture, use the furniture as a visual guide rather than centering the frames on the entire wall. Step back and check the boundary from the doorway and from the places where you normally sit.
Gather the pieces before designing the layout
Collect the frames, art and small objects you actually intend to hang. Measure each piece across its outside edges, not just the print inside it, and note whether its hanging point is at the top or lower down on the back. This detail matters later: two frames with identical outlines may need hooks in different positions.
If you are still choosing pieces, limit the first arrangement to what fits comfortably within your boundary. A few frames with space between them can have more impact than many frames squeezed together. You can create variety through size and orientation while repeating one element, such as a frame finish or a color found in several prints. There is no need to buy a matching set; existing art, photographs and inexpensive frames can work together when the spacing feels deliberate.
Test the composition on the floor
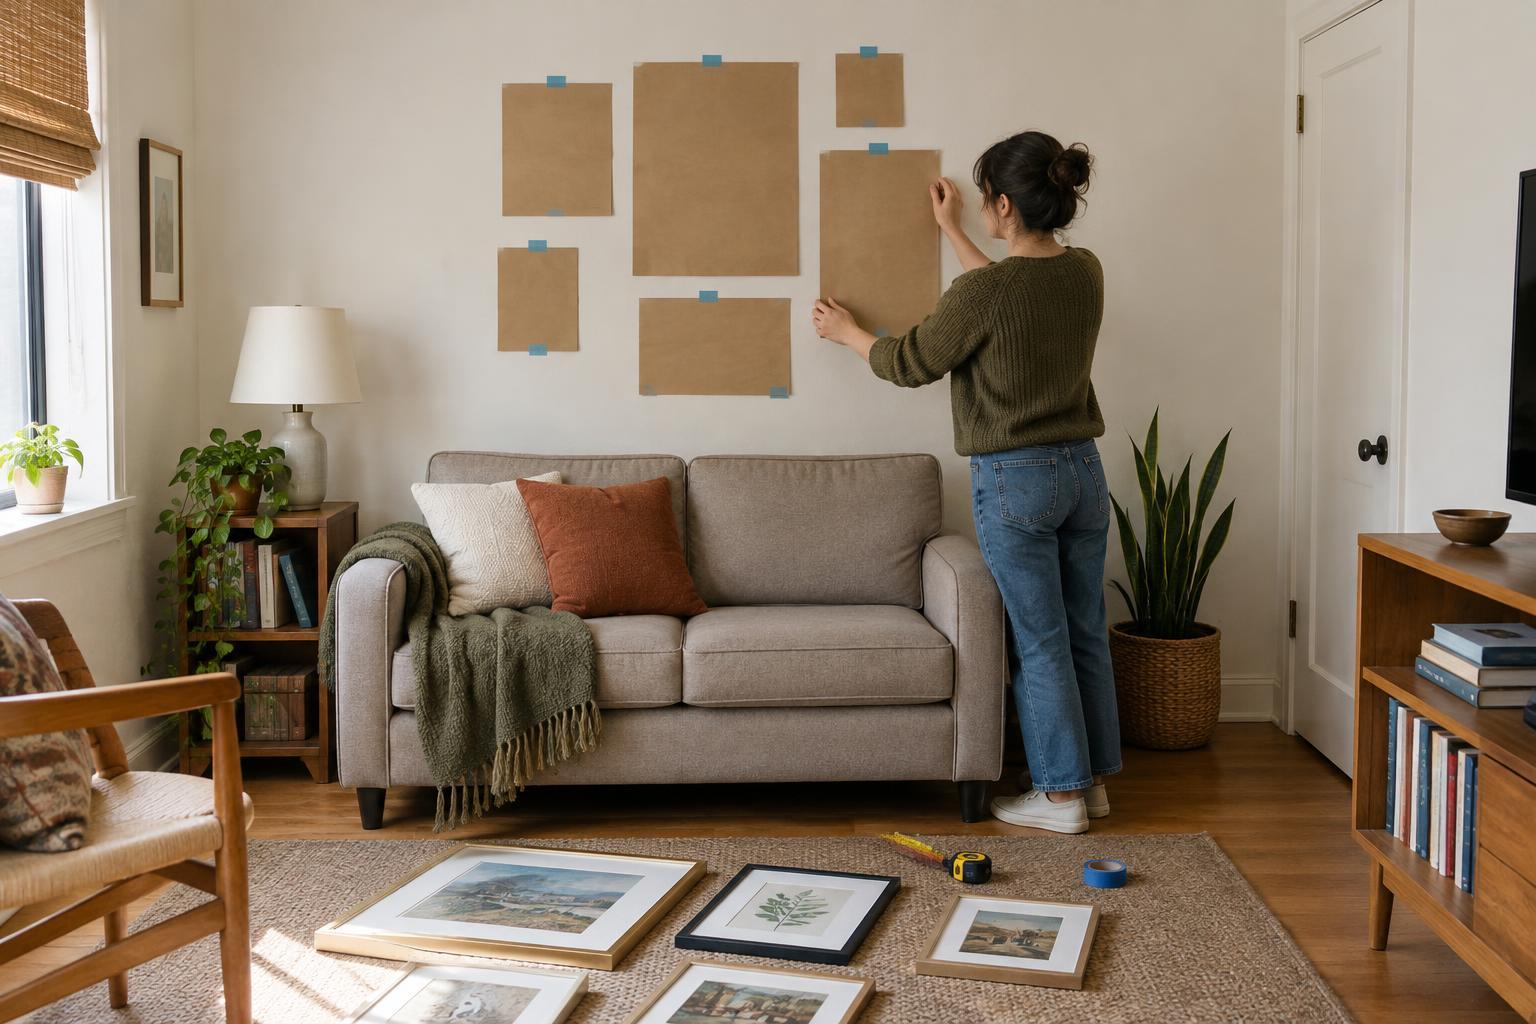
Lay the pieces on the floor inside a rectangle roughly the size of your taped wall boundary. Begin with the largest frame or the piece you most want people to notice. Place the remaining pieces around it, working outward rather than trying to fill every corner. For a calm look, align a few edges or keep the gaps fairly consistent. For a looser arrangement, vary the edges but maintain enough space that each piece is easy to see.
As a starting point, try gaps of roughly two to three inches between neighboring frames, then adjust for their size and the amount of wall available. Small frames may look disconnected when spread too far apart; large frames can feel cramped when packed tightly. Take a photo of each promising version. A photograph makes it easier to compare layouts after you move the pieces, without having to remember exactly where everything sat.
Move the plan onto the wall with paper
Trace each frame onto plain paper, wrapping paper or reused packing paper and cut out the shapes. Label every template so you can match it to its frame. If you know where a frame’s hook or hanger sits, mark that point on the template as well. Attach the paper shapes within your taped boundary using tape suitable for the wall finish; test a small, inconspicuous area first if you are unsure how the paint will respond.
Now judge the arrangement at eye level. The floor layout may look different once it is upright, particularly above a sofa or in a narrow room. Move the templates until the group feels balanced from the doorway and does not compete with nearby shelves or a busy rug. Live with the paper layout for a day if you can. Walking past it during normal use often reveals a frame that feels too high, too close to an edge or too tightly grouped.
Make a final check before hanging
Before marking holes, confirm the position of each actual hanging point against its paper template. Check frame weight and choose fixings appropriate for the wall and the item; follow the hardware instructions rather than assuming one type of hook suits everything. Avoid drilling where wiring or plumbing may be present. If the wall construction is uncertain, get suitable guidance before making holes.
You can also decide not to hang every piece at once. Put up the main frames first, then check the result from across the room before adding smaller ones. If you rent or want an easier-to-change display, a picture ledge or other suitable no-drill option may be worth considering, subject to its weight limits and your wall surface. The goal is not a perfect grid. It is an arrangement that fits the room, leaves space to breathe and can be planned with confidence before the first hole.