Check the wall and choose the right material
A kitchenette backsplash may cover only a small area, but that area has a demanding job. It can sit close to a sink, kettle or cooking surface, so start by checking the product’s instructions for moisture limits, heat clearances and suitable wall materials. Do not assume that every peel-and-stick panel can go directly behind a burner. If the proposed spot falls outside the product’s stated limits, choose a different finish for that part of the wall.
The adhesive needs a sound, reasonably smooth surface. Loose paint, peeling wallpaper and crumbly plaster are poor foundations. Deep grout lines or heavy wall texture may show through a thin panel or prevent it from gripping evenly. If you are covering existing tile, check whether the product permits it and whether the grout needs to be filled first. In a rental, confirm that the finish is allowed; removing adhesive panels can sometimes damage paint.
Prepare the surface before opening the backing
Clear the counter so you can reach the full wall. Remove hooks or other obstacles, then repair loose or damaged areas and let repairs cure as directed. Clean the wall to remove grease, dust and soap residue, paying particular attention to the space behind a kettle or beside a hob. Use a cleaner appropriate for the wall finish, rinse if its instructions call for it, and let the surface dry completely. A wall that feels clean can still hold enough cooking film to weaken adhesion.
Before committing to the whole backsplash, test one panel or a small offcut in an inconspicuous spot, following the product’s instructions. This is especially useful on painted walls: a panel can stick firmly to paint that is not firmly attached to the wall. Gather a tape measure, level, pencil, straightedge and the cutting tool recommended for your panels. Keep a clean cloth nearby for pressing panels into place.
Plan the layout around what you will see
Measure the height and width of each run, including the space around windows, cabinets and outlets. Lay the panels out on a table or the counter with their backing still attached. Look for printed patterns that need to align, and decide where a partial panel will be least noticeable. In a short kitchenette run, centering the layout may look better than starting with a full panel at one end and leaving a narrow strip at the other.
Use a level to mark a light guide line rather than relying on a counter that may not be perfectly straight. Dry-fit the first panel and check its position from normal standing height. If a sheet must fit around an outlet, measure carefully and make a paper template before cutting the panel. Do not cover an outlet or tuck material into an electrical box. If the job requires moving electrical fittings or you are unsure how to work safely around them, leave that part to a qualified person.
Apply panels slowly and keep seams consistent
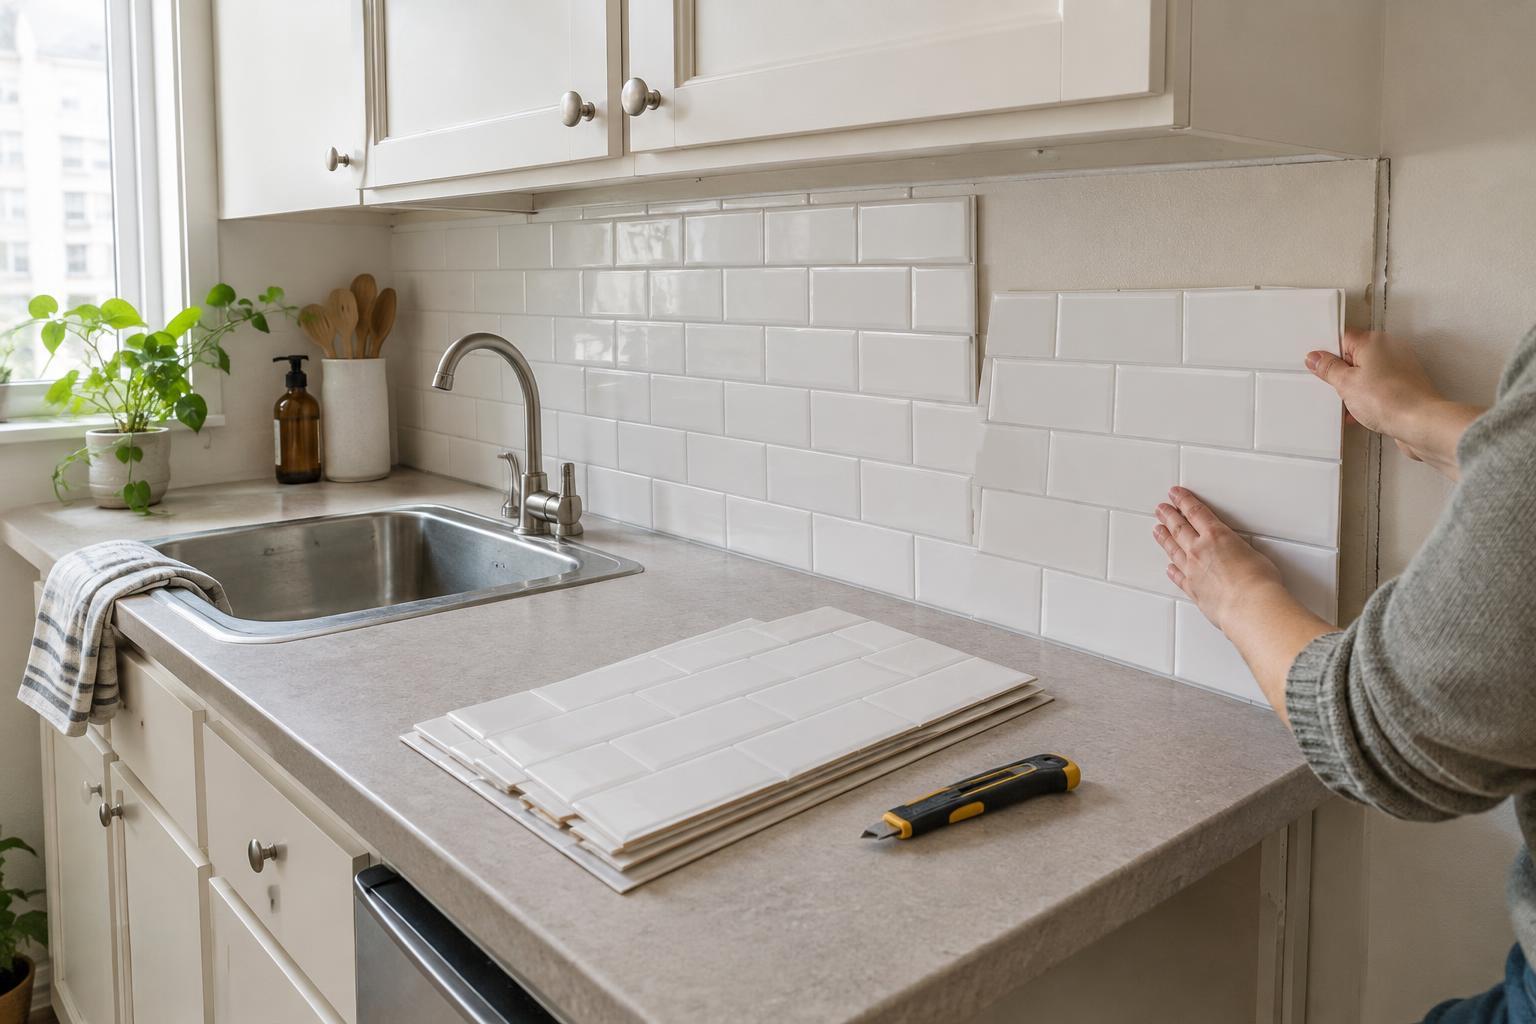
Start at your planned reference point. Peel back only a small portion of the liner, position the exposed adhesive on your guide line, then gradually remove the rest while pressing from the center outward. This gives you a chance to catch a drifting edge before the whole panel is attached. Follow the product’s directions for overlapping or butting seams; mixing the two methods can make a pattern look uneven.
Work one panel at a time and pause after each to check that the top edge, pattern and joints still line up. Use a clean cloth or the applicator recommended by the manufacturer to press across the full surface, especially near seams. Avoid repeatedly pulling a panel off and resticking it unless the instructions say repositioning is possible. For a modest project, allowing extra time for careful fitting is often more useful than buying a specialized tool you will rarely use.
Finish corners and exposed edges neatly
An inside corner is rarely perfectly square. Measure both sides of a panel before cutting, and avoid forcing a rigid sheet to bend into a corner if it is designed to end at the joint. A neat cut on each wall is usually less conspicuous than a buckled panel. For an outside corner or an exposed end beside an open shelf, check whether the product offers a matching trim. If not, plan the last panel so its cut edge is straight and sits in a deliberate place.
At the counter and sink, follow the manufacturer’s guidance on gaps and sealing. If a sealant is recommended, choose one compatible with both the panel and the surrounding surface; a thin, tidy line is easier to clean than a thick bead. Do not use sealant to hide a panel that is lifting or to cover a damp wall. Once finished, leave the backsplash undisturbed for the period specified in the instructions, then clean it with products the manufacturer allows.